
Being Geek Chic is a blog about one woman navigating the male-dominated industries of production and tech. It's written by Elizabeth Giorgi, Founder, CEO and Director of Mighteor - one of the world's first internet video production companies. Learn more about Mighteor here.
![]()
![]()
![]()
![]()
![]()
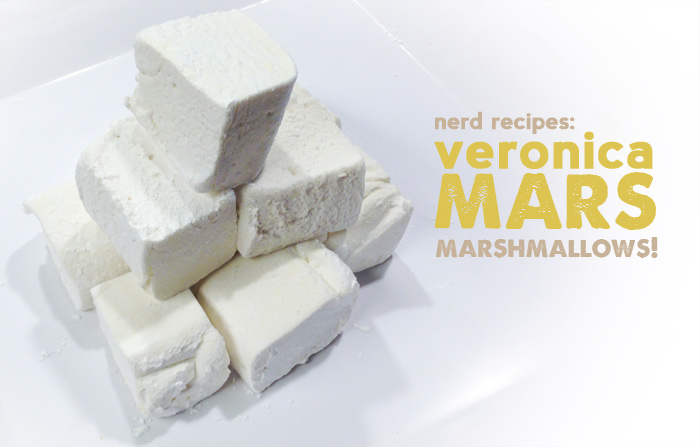
In your best Kristin Bell imitation voice: “But seriously, Marshmallows. This is it.”
Last spring, 91,585 fans of the gone-before-its-time cult classic Veronica Mars made Kickstarter history by donating more than $5 million to fund filming for a continuation of the cancelled series.
It was both the highest-funded film Kickstarter, as well as the fastest project to raise a million dollars. 11 months later, the film is finally hitting theaters this weekend.
Veronica Mars is one of those culty, nerdy things I always knew I would end up liking, but only recently had time to dive into. (I was also super late to loving Chuck) I probably won’t quite wrap up in time to see the movie on opening night – I just started season 3.
However, in honor of a large, rabid, and passionate fanbase, generally referred to as “Marshmallows” – a reference from the pilot episode, here is the Veronica Mars Marshmallow recipe.
Veronica Mars Marshmallows (Adapted from a Martha Stewart recipe):
NOTE: Unlike most of our BGC recipes, you do need a stand mixer for this one. I tried once to make them with a cheapie hand mixer and ended up with a strange puddle of goo.
Ingredients:
Special equipment: Stand mixer, one 9x9 square pan, plastic wrap, parchment paper, and a large rubber band.
Now, Make them Mallows! Step by Step:
1. Pour the half cup of water into the bowl of your stand mixer and sprinkle all three packets of gelatin over the top. Allow it to stand for 10 minutes while you prepare the pan and sugar syrup.
2. Line the bottom of the pan with plastic wrap, and spray the plastic with cooking oil. There should be a generous amount of plastic hanging over on each side.
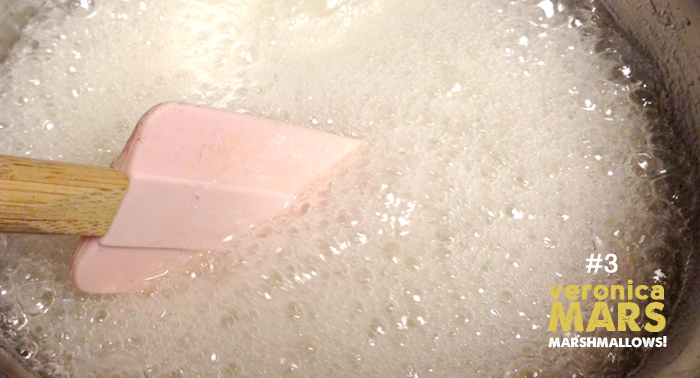
3. In a medium saucepan, bring the remaining quarter cup of water, sugar and corn syrup to a boil over medium high heat. Stir gently and be cautious - this kind of candy syrup hurts like no other if it splatters on your skin. When the mixture starts to boil, keep stirring and continue to boil for at least one minute.
4. If 10 minutes have not passed since you first added the water and gelatin, remove the sugar syrup from heat and allow to cool slightly. Add a pinch of salt.
5. Start your mixer on a medium speed and slowly start pouring the sugar mixture. Once it’s all been added, turn the mixer up to a higher speed.
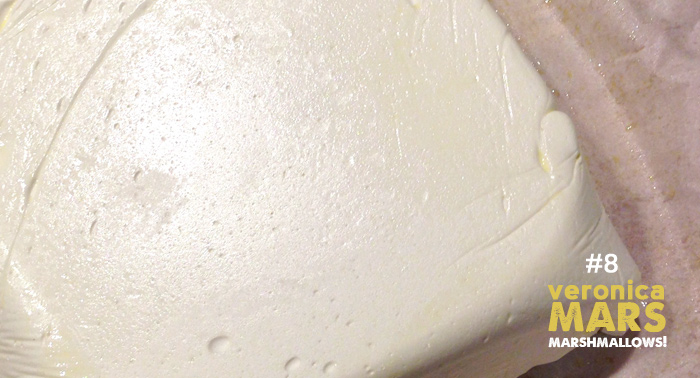
6. Allow the mixer to continue on high for 10-12 minutes. In the final minute, add the vanilla extract. The mixture will expand and resemble marshmallow fluff when it’s finished.
7. Spoon the mixture into your prepared pan and smooth the top of it. Spritz the parchment paper with cooking oil, and press it oil side down on top of the marshmallows. Use the rubber band to make the seal airtight.
8. Allow the marshmallows to sit for at least two hours, but up to overnight. Turn the marshmallows out on a cutting board and blot any excess cooking spray with a paper towel.
9. Pour half a cup of powdered sugar into a shallow bowl.
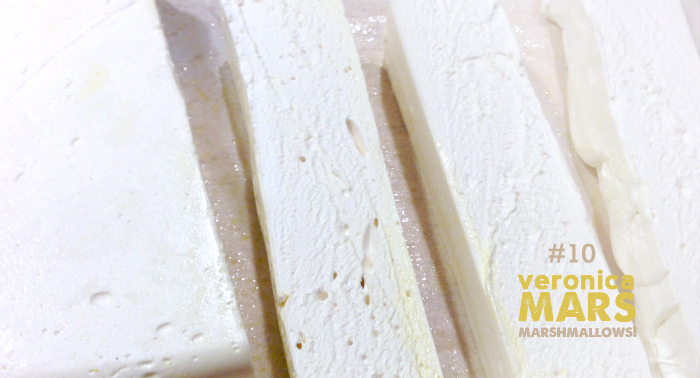
10. Coat a sharp knife with cooking oil and cut the marshmallows into squares. You’ll get up to 16 very large marshmallows or 20-24 smaller ones. Toss each marshmallow in the powdered sugar to coat the sticky sides. Enjoy!

Recipe by Emma Carew Grovum. She is the web and social media editor for Foreign Policy magazine and uses her newsroom colleagues as taste testers. Emma has previously worked for the Chronicle of Philanthropy, Webbmedia Group, The Cooking Club of America and the Minneapolis Star Tribune. She loves Star Wars, pandas and all things Joss Whedon. Find her on twitter at @emmacarew.
Ah, New Year’s Eve. If Pinterest is to be believed, it’s a time to wear your most fabulous tiny but sparkly dress, sip champagne and nibble on bite-sized treats while laughing with 30 or so of your closest friends in someone’s very nice, spacious home. If the bars in my neighborhood are to be believed, it’s a time where you and your entourage shall crowd into the various bars, shell out between $60 and $100 for all you can drink and ring the new year in with hundreds of other Districtonians.
If you’re like me, the chances of either of these things happening are slim to zero. But, the good news is it’s not too late for you to pull together your besties and ring in 2014 simply, deliciously, and–of course–geekily.
Being Geek Chic’s test kitchen has you completely covered with two new recipes, and tweaks to some old ones, to help you put on a Star Wars-themed (or generically space-themed) New Year’s Eve party on short-notice. All you need is any of the six Star Wars films (may I recommend IV - VI, the classics?) and enough space for everyone to sit comfortably.
The menu for my New Year? Dagobah Swamp Punch and Death Star Popcorn Balls!
Dagobah Swamp Punch (serves 4-6)
You Need:
1) Scoop the sherbet into the punch bowl and cover with champagne. It will foam up as you mix the sherbet into a smooth consistency.
2) Slice the limes into half inch thick rounds and mix into the punch.
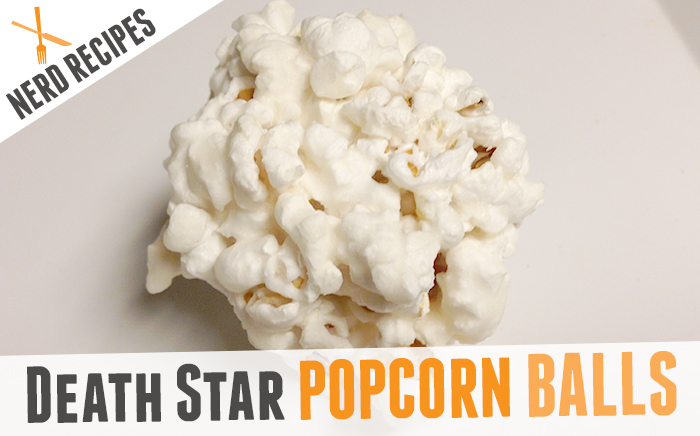
Death Star Popcorn Balls (makes 8-10 popcorn balls)
You Need:
1) Heat 3 TBS vegetable oil in a large pan and add the kernels. Cover and cook over medium high heat until most of the popcorn is popped.
* 1a) Alternately, you can also coat the kernels with a vegetable oil spray, pour into a large paper bag and put in the microwave for 2-4 minutes until most of the popcorn has popped.
2) In a large saucepan, bring sugar, water and corn syrup to a boil.
3) Boil for about 10 minutes, then remove from heat and stir in the extracts.
4) Cool the syrup completely (about 1 hour) and allow it to thicken.
5) Pour a couple of handfuls of popcorn onto a piece of parchment paper and drizzle some of the sugar syrup over it. Use two forks to completely coat the popcorn.
6) Butter or oil your hand, then scoop up and squeeze popcorn to make a ball about the size of a baseball. Let go slowly, so the popcorn ball doesn’t fall apart.
7) Place on a parchment lined cookie sheet and allow to harden overnight. Continue until all of the popcorn or syrup is gone.
Recipe by Emma Carew Grovum. She is a data journalist working at the Chronicle of Philanthropy in Washington, D.C. She previously worked as the Digital Editor for The Cooking Club of America and blogs at kitchendreamer.blogspot.com Emma loves Star Wars, pandas and all things Joss Whedon. Find her on twitter at @emmacarew.
It’s Liz’s birthday tomorrow. Happy birthday, Liz! I thought we’d celebrate with a dino excavation cake recipe. This week’s nerdy recipe combines two of my very favorite things: dinosaurs and birthday cakes.
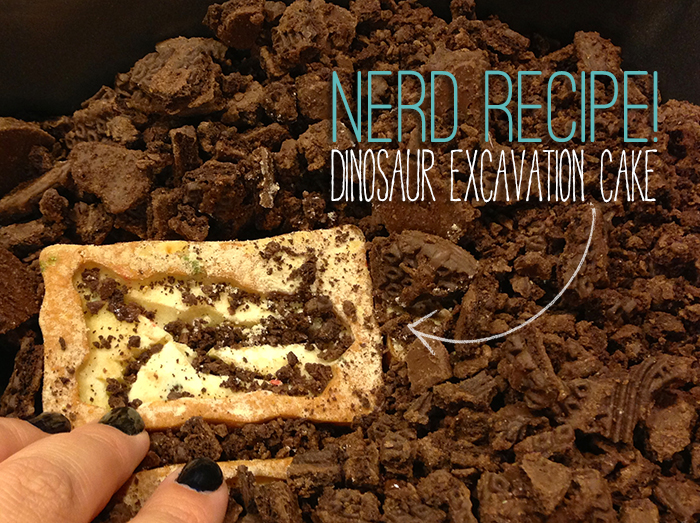
I first made this cake for a friend a few months ago, without telling her what it was all about. I handed her the cake tin and a toothbrush (it’s an excavation, after all).
I picked up these dino cupcake molds in the Jurassic Park gift store at Universal Studios last year (see photo), after spending some time in the Wizarding World of Harry Potter. But you can buy yours here.
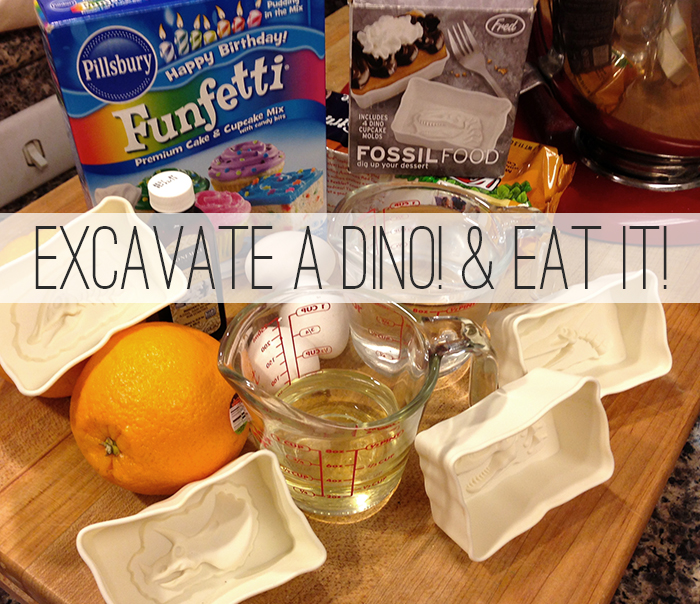
Ingredients:
Let’s Make It:
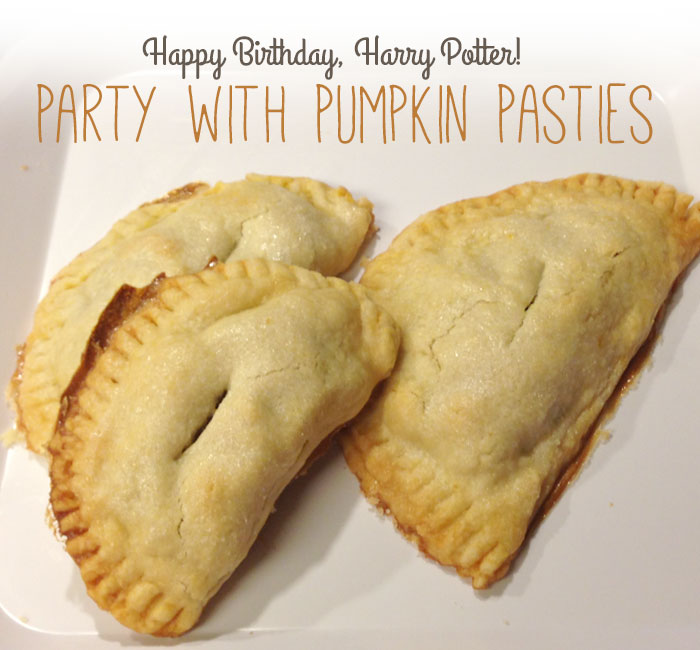
Ok, so technically Harry Potter’s Birthday is tomorrow, July 31st, but we thought we’d post this early in case you want to celebrate his (and JK Rowling’s!) big day too.
Even though it’s been six years since the last Harry Potter novel was released, there are still plenty of geeks out there for whom July 31stwill always be a special day.
According to the Potter canon, Harry was just 1 year old in 1981 when his parents were killed, making this week his 33rd birthday.
Pumpkin pasties are mentioned multiple times throughout the Harry Potter series. They’re first introduced in Harry Potter and the Philosopher’s Stone, when Harry first rides the Hogwarts Express to school.
The recipe for the pumpkin filling makes enough for about 16 pasties. You can either make a double pie crust or save half for another day.
Let’s Make Potter’s Partying Pumpkin Pasties
Ingredients:
How To:
1) Make pie crust and set aside to chill for at least 30 minutes.
2) While the pie crust is chilling, mix together the flour, sugar, spices and oats.
3) Use your fingers to cut the butter into the mix, then stir in the pecans.
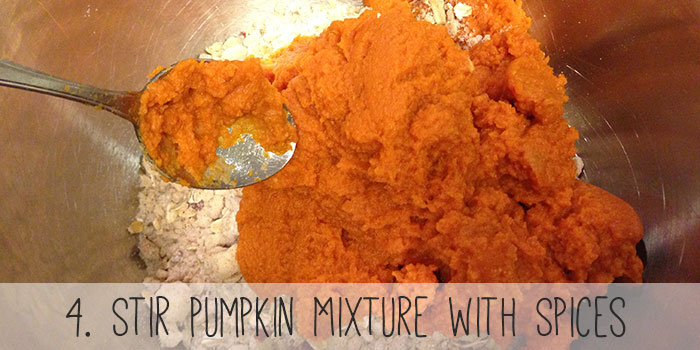
4) Stir the can of pumpkin into the crumble mixture until it’s completely combined.
5) Roll out the pie crust. If it’s exceptionally crumbly, cut the dough into eight similarly sized balls. If it’s holding up pretty well, roll it out and use a biscuit cutter to create 8-10 rounds.
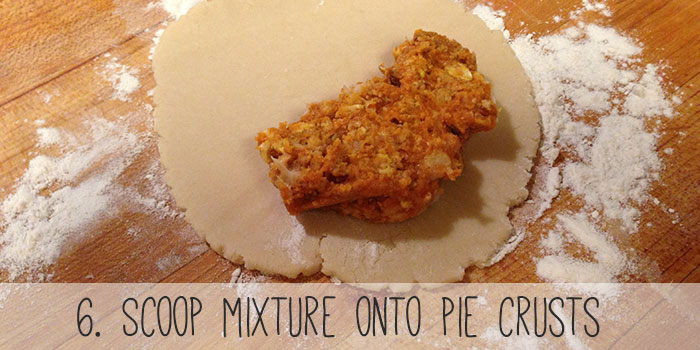
6) Scoop about two tablespoons of the pumpkin filling into each pie crust.
7) Mix the beaten egg with a tablespoon of water or milk. Brush the edges of the pie dough with the egg wash.
8) Fold the dough over and crimp with a fork to seal.
9) Place the pasties on a baking sheet lined with parchment.
10) Brush the pasties with the egg wash and cut a thin slit across each pasty.
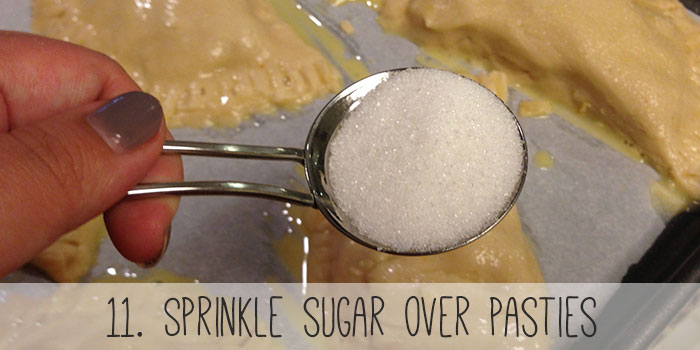
11) Sprinkle a little sugar over each pasty.
12) Bake for 30-35 minutes at 350 degrees. Cool completely before eating.
Recipe by Emma Carew Grovum. She is a data journalist working at the Chronicle of Philanthropy in Washington, D.C. She previously worked as the Digital Editor for The Cooking Club of America and blogs at kitchendreamer.blogspot.com Emma loves Star Wars, pandas and all things Joss Whedon. Find her on twitter at @emmacarew.
It’s San Diego Comic Con week, aka the gathering of the nerds. SDCC has grown in the past years to encompass more than just the comics crowd, now drawing thousands of fans for TV and movie panels. All that walking and waiting and partying and geeking out is going to require a lot of energy.

Decent food is hard to come by, and a backpack full of snacks is the way to survive.
These Comic Con Bumble Bars are packed with nuts and seeds, full of protein to keep you going all day. Bring extras and maybe you’ll be able to share some Being Geek Chic cheer with your new SDCC pals.
Ingredients:
Make These Bumble Bars:
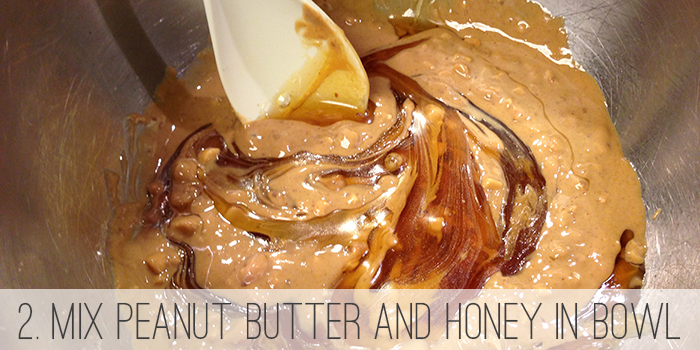
1.Spray a measuring cup with vegetable oil before filling with peanut butter, then heat for 20-30 seconds in the microwave.
2. Pour the softened peanut butter into a large mixing bowl and stir in the honey until completely combined.
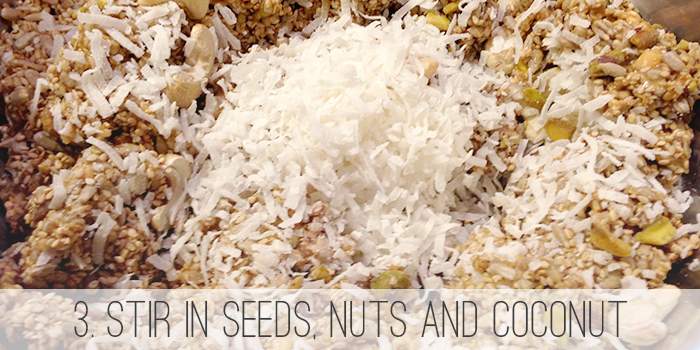
3. Slowly add the sesame seeds and sunflower seeds and mix until mostly combined, then stir in the nuts and coconut.
4. Spray a half pan sheet or square brownie pan with vegetable oil, then press the mixture into the pan tightly.
5. Use oiled fingertips to press down on the bars to create an even surface.

6. Bake at 350 F for 15 minutes, then turn heat down to 300 F for another 15 minutes. If the bars start to get overly brown, cover with tin foil for the second 15 minutes of baking.
7. Cool completely in the pan, at least one hour, or until bars have firmed up. If the bottom of the pan is still warm to the touch, try placing them in the refrigerator for 20-30 minutes to speed up the cooling.
8. Turn out onto wax paper or a cutting board and use a sharp knife or pastry blade to cut into squares. Wrap in saran and pack a few in your bag! If the bars are falling apart while cutting them, stick them in the fridge for a few hours to firm up the mixture.
Recipe by Emma Carew Grovum. She is a data journalist working at the Chronicle of Philanthropy in Washington, D.C. She previously worked as the Digital Editor for The Cooking Club of America and blogs at kitchendreamer.blogspot.com Emma loves Star Wars, pandas and all things Joss Whedon. Find her on twitter at @emmacarew.